Choosing Between Hardwood and Synthetic Sports Flooring: What Every Facility Should Know
Read More

Thinking about installing a hardwood gymnasium floor? That’s a major investment and an essential part of any high-performance athletic facility. Whether for a school, sports center, or collegiate environment, hardwood flooring is considered the gold standard. But how do you install a gym floor that will deliver optimal performance, safety, and durability? While the process is more complex than laying down basic rubber mats or turf, with the right planning and expertise, it can be done successfully. This step-by-step guide will walk you through the entire process, from pre-installation planning to final game-line striping. For a flawless finish, contact Keystone Sports Construction for professional hardwood gym floor installation.
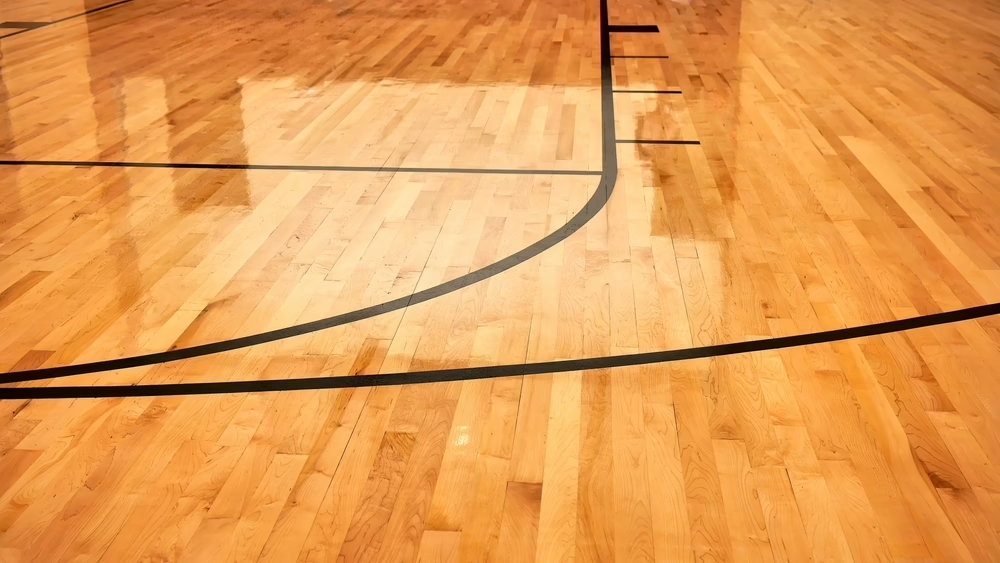
Unlike rubber or foam flooring, hardwood gym floors are a long-term solution designed for intensive athletic use. Maple, known for its durability and consistent grain, offers ideal surface traction, uniformity, and ball bounce. A well-installed hardwood floor reduces injuries by absorbing shock and providing stability underfoot.
Improper installation can lead to uneven surfaces, poor shock absorption, dead spots, and long-term maintenance issues. Whether you’re installing in a new building or replacing an old floor, the materials and methods you choose now will directly impact athlete performance and the lifespan of your facility. We stand out among other gym floor companies in Pennsylvania.
Every successful installation begins with careful planning. This means understanding your facility’s needs, choosing the right system, and prepping the space accordingly.
Hardwood gym floors typically fall into one of three system types:
Consult a sports flooring expert to match the right system to your facility’s goals.
Accurate measurements are essential. Measure the length and width of your room to calculate square footage. Don’t forget to factor in:
Your hardwood floor will only perform well if the subfloor is properly prepared.
Use ASTM-approved methods:
Moisture issues must be corrected with vapor barriers or mitigation systems before flooring is laid.
Ensure the subfloor is:
Grinding or leveling may be required for older concrete slabs.
1. Acclimate the Wood: Bring maple planks into the installation area for at least 7 days. Keep temperature between 65–75°F and humidity at 35–50%.
2. Install Vapor Barrier and Sleeper System: Install a vapor barrier if required. Then, lay the sleeper system or panels that will support the hardwood. Follow manufacturer guidelines for spacing and layout.
3. Install Maple Flooring: Start at one end of the room. Nail or staple the planks to the sleeper system, staggering end joints for stability. Maintain expansion gaps along all edges.
4. Sand and Seal the Surface: Sand in multiple passes (36, 60, 100 grits). Remove dust. Apply the first sealant coat to prepare for line painting.
5. Paint Game Lines: Use precise layouts for basketball, volleyball, etc. Apply high-contrast paint following NCAA, NFHS, or other standards. Let dry fully.
6. Apply Finish Coats: Top with 1–2 coats of MFMA-approved finish. Allow full curing time (usually 24–48 hours between coats).
Professional installation helps prevent these costly mistakes.
A hardwood gymnasium floor delivers performance, durability, and safety—but only when installed with care. From subfloor prep to line striping, every step matters. By following best practices and working with experts like Keystone Sports Construction, you’ll create a gym floor that athletes, coaches, and spectators can rely on for years.
Ready to start your gym flooring project? Contact the team at Keystone Sports Construction for gym floor installation.