Launching a tennis court construction or renovation project in the spring is an excellent goal. Spring weather provides the ideal conditions for earthwork, base construction, and surface application, making sure your court is ready for the peak summer playing season. However, successful spring construction depends entirely on meticulous planning conducted during the preceding fall and winter months.
A successful project requires coordinating contractors, securing materials, and managing permits. Here is the definitive guide from Keystone Sports Construction on how to plan your tennis court project effectively to break ground as soon as the frost thaws. Call us for tennis court installation in NJ for the best results.
I. Autumn/Early Winter – Project Definition and Design
This is the most critical phase for defining the scope, securing the necessary expertise, and laying the groundwork for construction.
A. Define Your Project Goals
Before contacting contractors, clarify exactly what you need:
- New Construction: Building a court where none existed. This requires extensive site work, grading, and drainage planning.
- Resurfacing/Renovation: Repairing cracks, addressing drainage issues, and applying a new court surface to an existing structure.
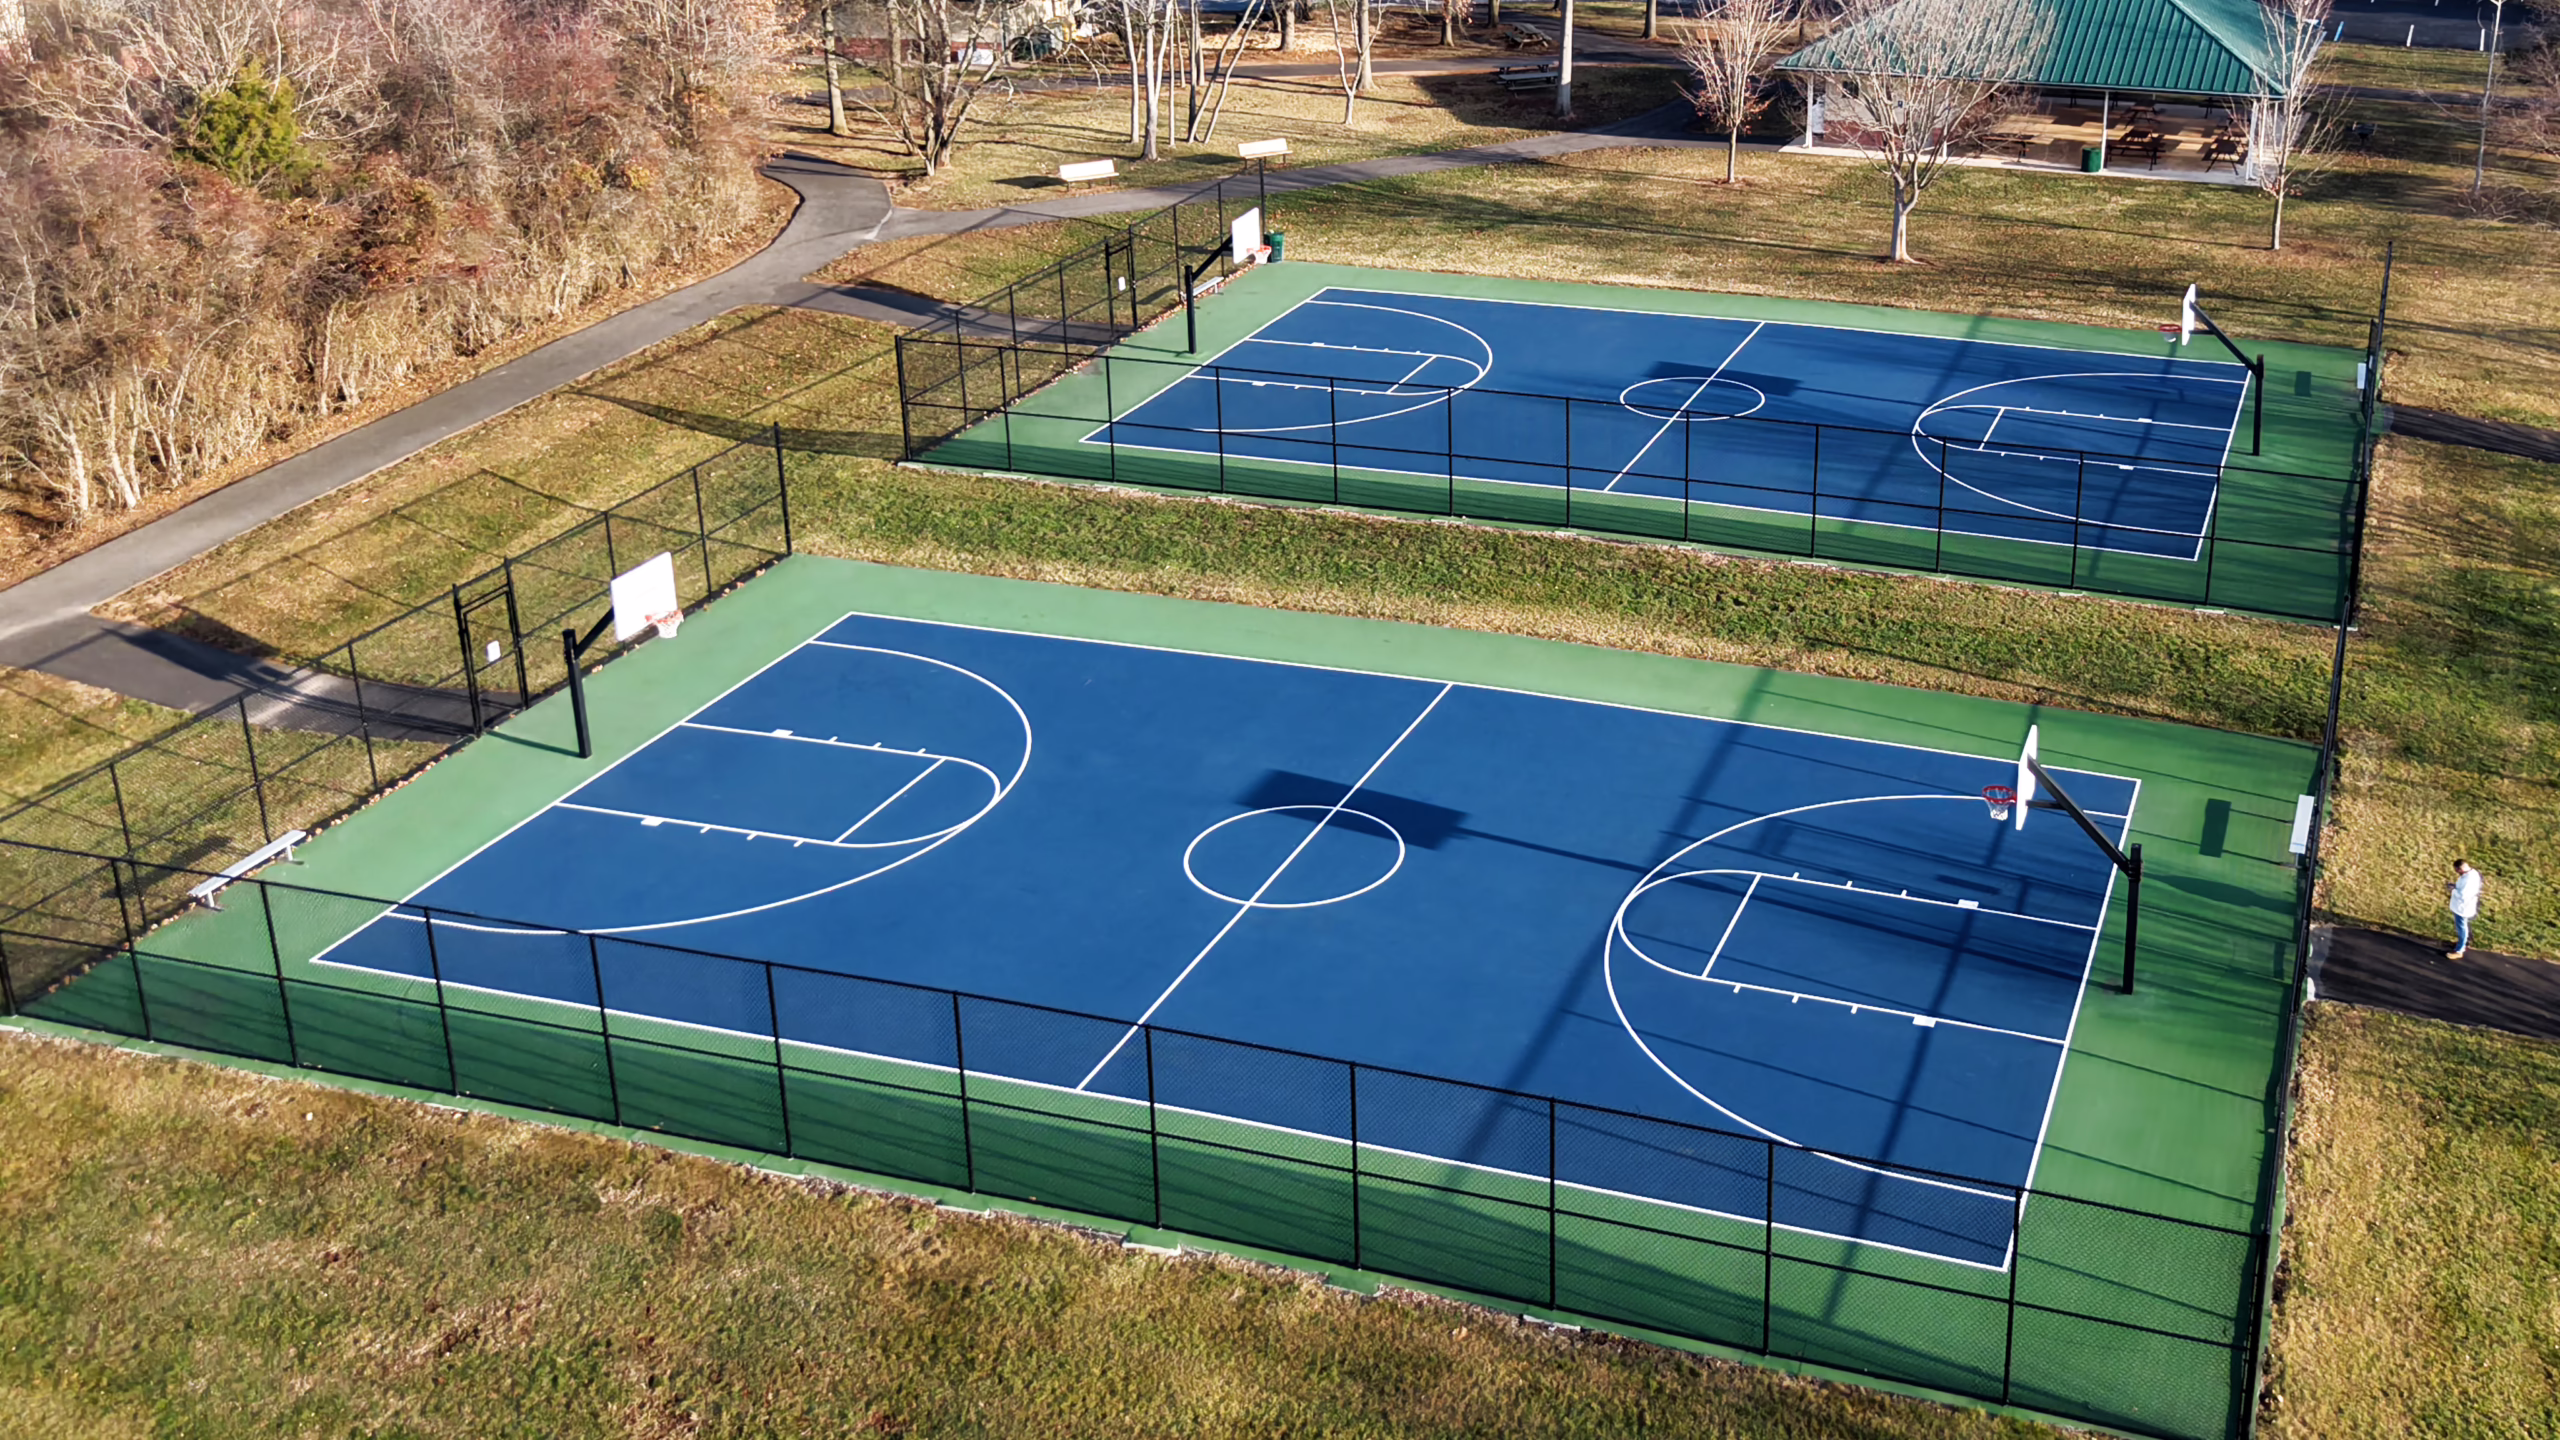
- Surface Type: Decide on the preferred surface (e.g., standard acrylic hard court, cushioned court, or clay court). This choice dictates the entire construction process and cost.
- Budget: Establish a realistic budget range for both the construction and ongoing maintenance.
B. Select a Qualified Contractor
Begin your search for a specialized tennis court builder like Keystone Sports Construction early. Good contractors book up their spring schedules quickly, often completing design work and lining up materials months in advance.
- Request Proposals: Provide your project goals and site details to several specialized firms.
- Evaluate Experience: Choose a company with proven expertise in tennis court construction, specifically the type of court you desire.
C. Site Assessment and Initial Design
Your chosen contractor will perform a thorough site evaluation, which includes:
- Topographical Survey: Analyze the slope, elevation, and subgrade soil conditions.
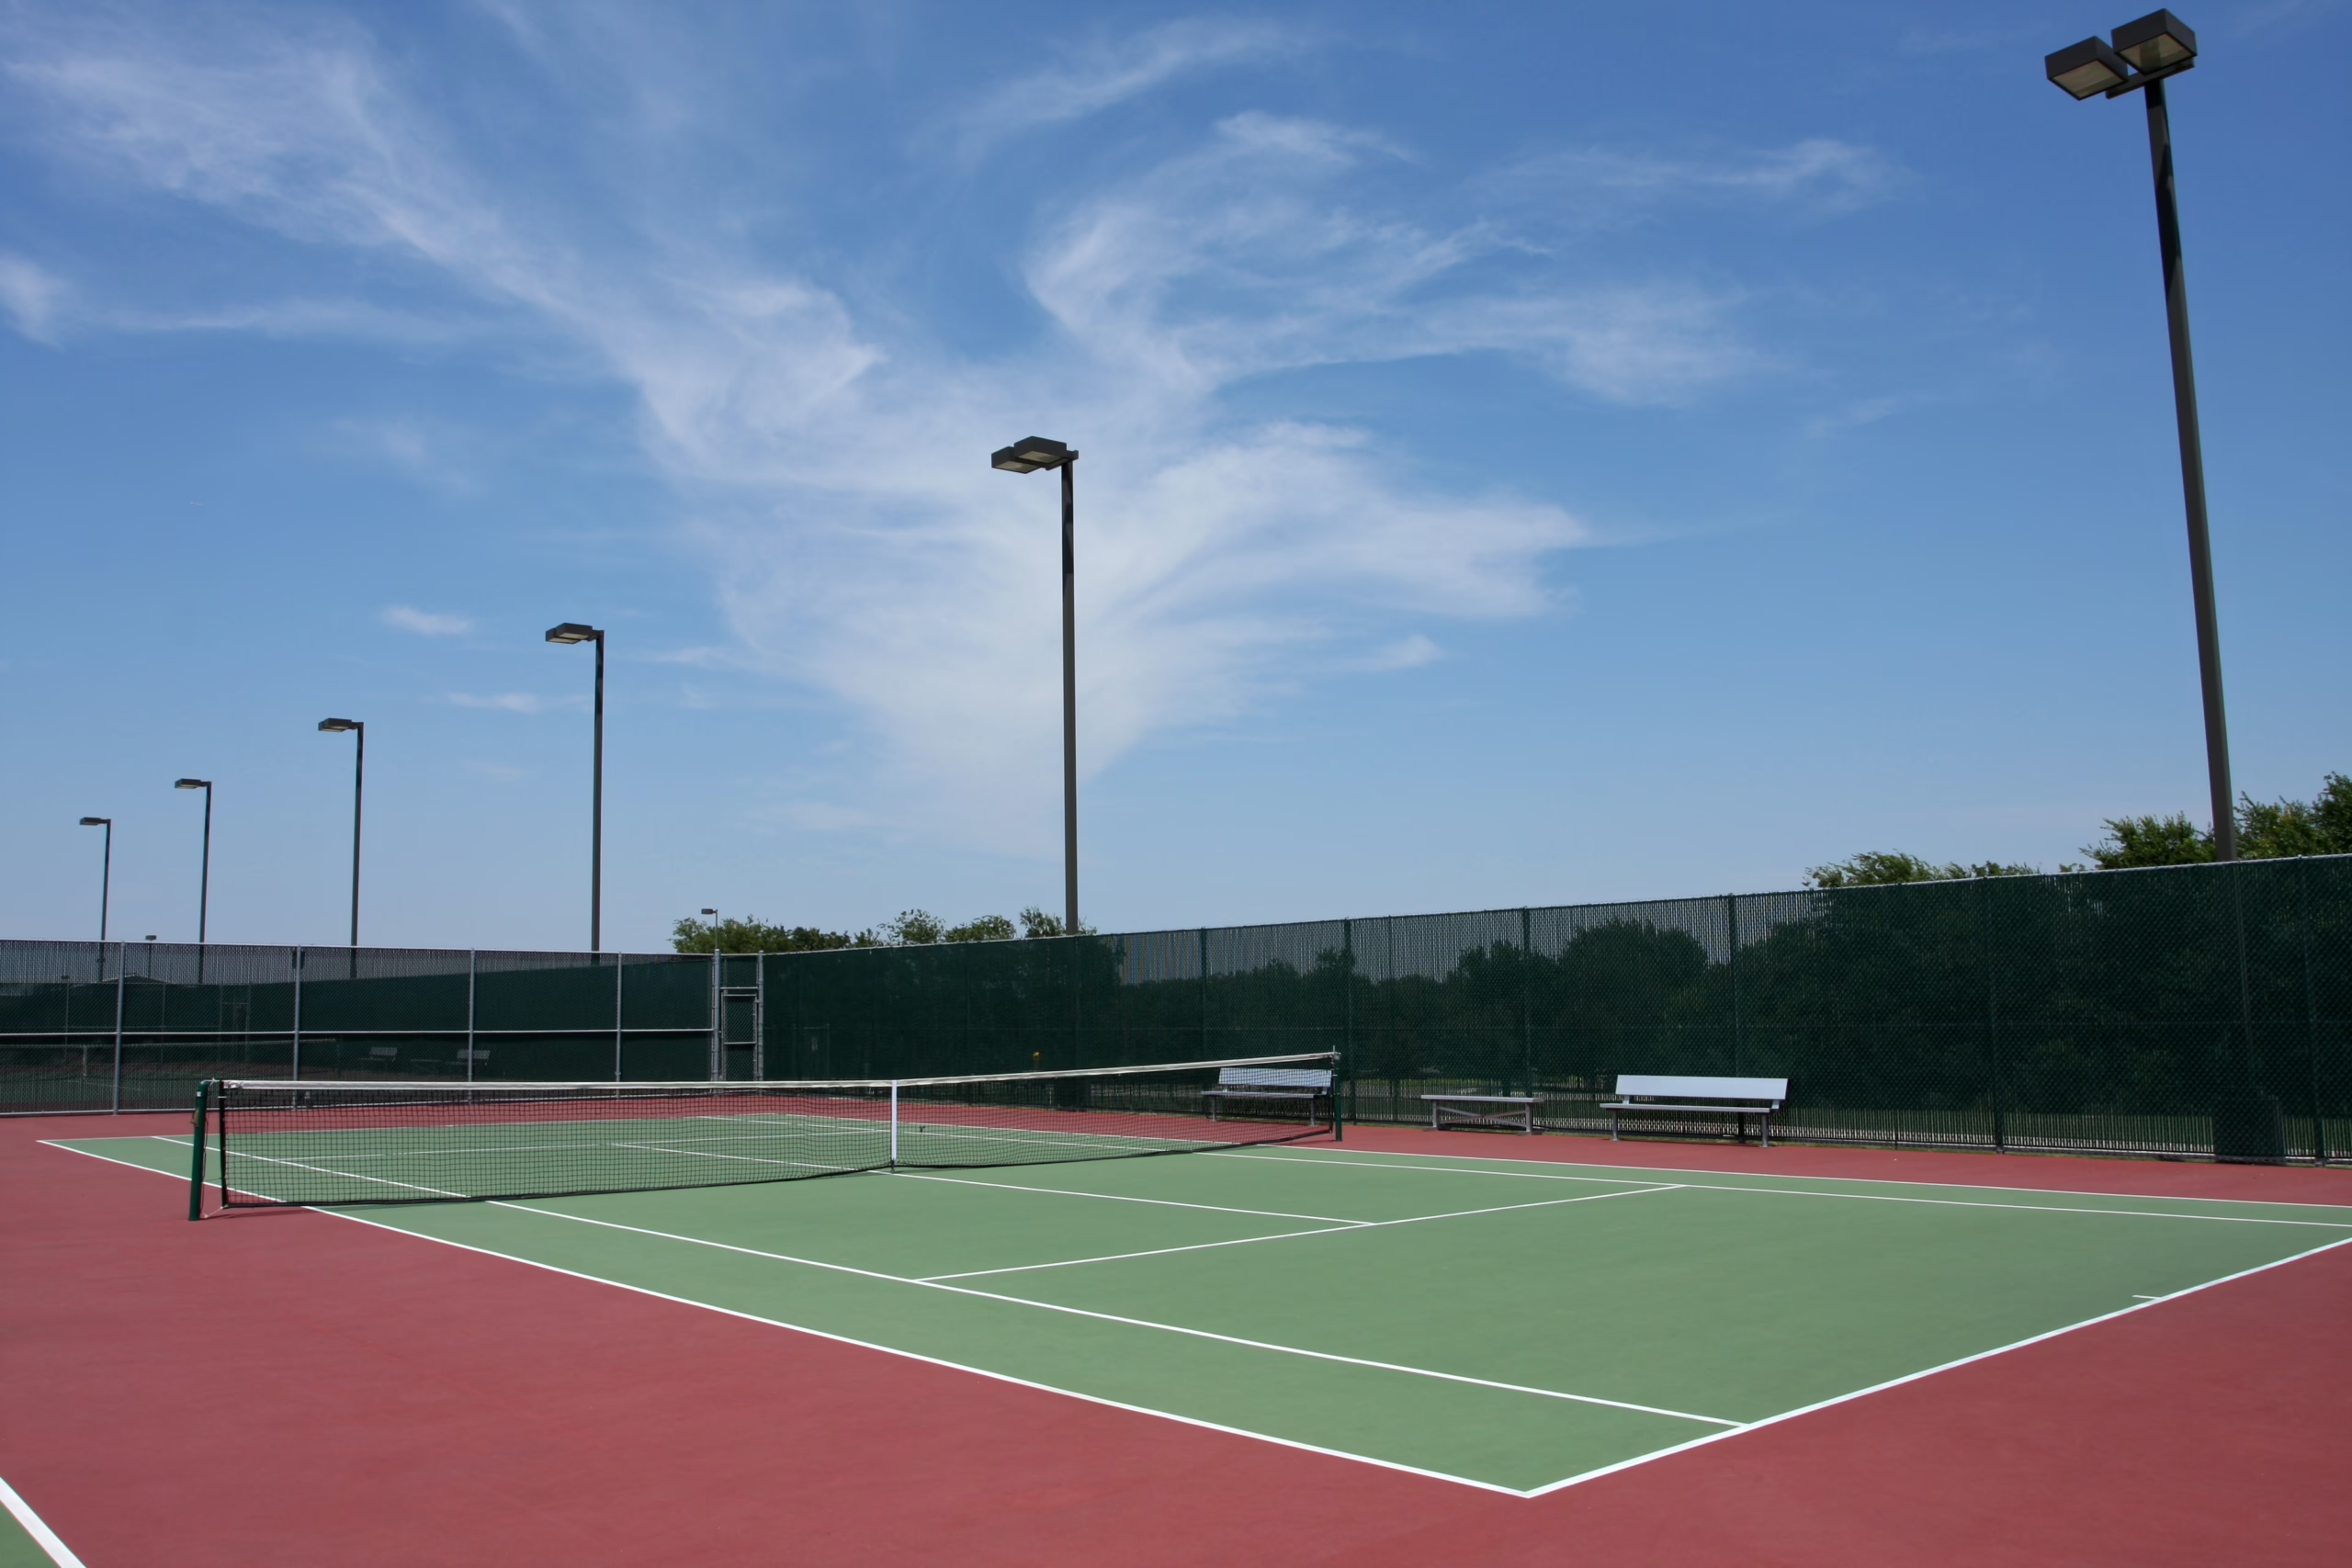
- Orientation Check: A tennis court should ideally be oriented north-south to minimize sun glare for players.
- Drainage Plan: Design the court slope 1% minimum and perimeter drainage systems. Proper drainage is the foundation of a long-lasting court.
II. Winter – Permitting, Engineering, and Procurement
Once the design is approved, use the winter months, when the ground is frozen, for the paperwork and procurement required before construction can begin.
A. Secure Necessary Approvals and Permits
Permitting can be the single biggest source of delay for a spring project.
- Local Zoning & Building Permits: Submit detailed plans to your municipality. Depending on the scope, you may need zoning variances, environmental reviews, or stormwater management approvals.
- HOA/Community Approvals: If applicable, obtain approval from any homeowner associations or community boards, which often have lengthy review cycles.
B. Finalize Engineering Drawings
The contractor’s engineers finalize drawings detailing:
- Court Dimensions: While the official playing area for a tennis court measures $78′ \times 36’$, the total space required—including the necessary out-of-bounds safety margins—is typically $120′ \times 60’$.
- Base Construction: Specific layer depths for sub-base, gravel base, and asphalt or concrete pavement.
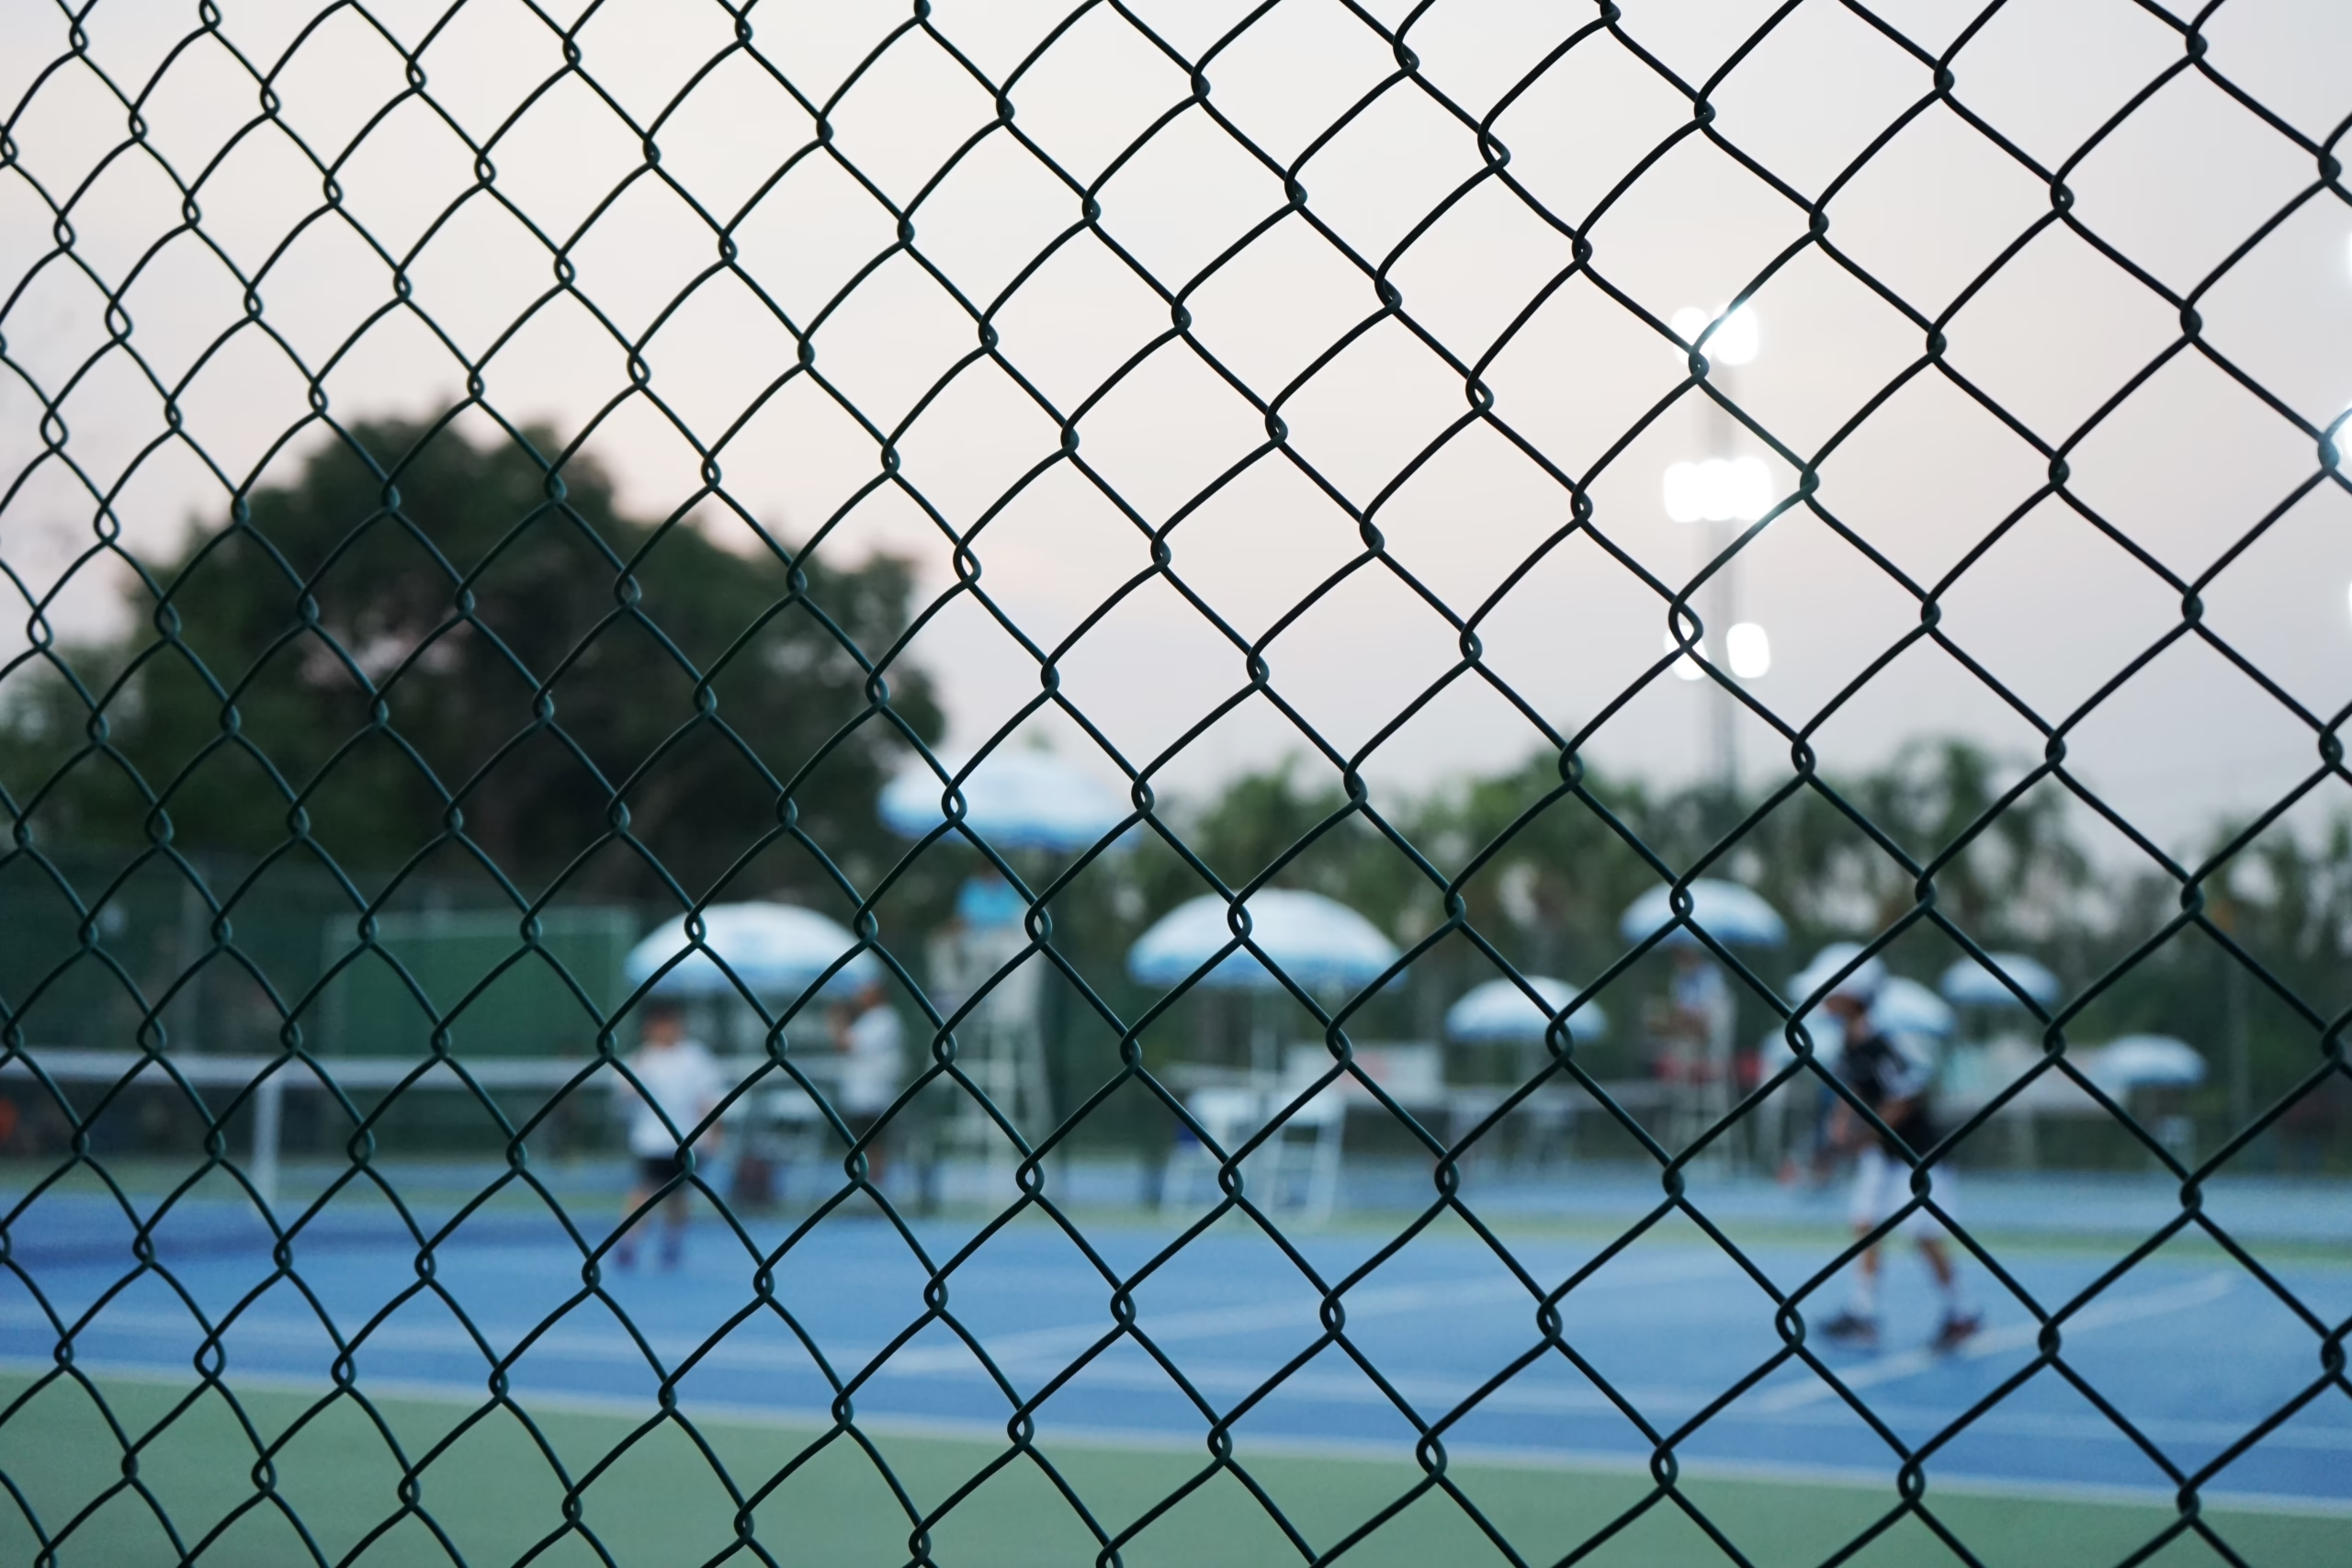
- Fencing and Lighting: Specifications for all permanent structures.
C. Material Procurement
Lock in material orders during the winter to avoid spring price hikes and material shortages. Key materials include:
- Base Aggregates: Gravel and stone for the sub-base.
- Asphalt or Concrete: Securing a slot with the paving crew/supplier is crucial as they are weather-dependent.
- Acrylic Surfacing Products: Order colors and coatings early.
III. Late Winter/Early Spring – Mobilization and Start
The moment the weather allows, you’ll be ready to mobilize immediately, minimizing downtime and maximizing the critical early season construction window.
A. Pre-Construction Checklist
Before the first shovel hits the dirt, verify the following:
- Permits are Posted: Make sure all required permits are physically on site.
- Site Access is Clear: Confirm there is adequate, safe access for heavy equipment and material deliveries.
- Utilities Marked: All underground utilities (gas, water, electric) must be clearly marked by utility companies to prevent costly strikes.
B. Groundbreaking: The Critical Path
Construction follows a strict sequence, which must adhere to safe weather conditions:
- Site Clearing and Earthwork: Removal of existing vegetation and initial grading to rough levels.
- Drainage Installation: Installation of subsurface drains, catch basins, and perimeter piping.
- Base Layer Construction: Laying and compacting the crushed stone aggregate base. Compaction is essential for preventing future settlement and cracking.
- Paving: Application of the asphalt or concrete court slab. This layer must cure completely, which takes several weeks, making an early spring start essential.
IV. Spring – Surface Application and Completion
The final phase involves turning the paved slab into a playable, high-performance court.
A. Curing and Surface Preparation
- Allow the asphalt or concrete base to cure fully. This can take 21 to 28 days. Applying coatings too early can lead to bubbling and adhesion failure.
- Structural Crack Repair: Fill any minor hairline cracks that emerge during the curing process.
B. Acrylic Color Coating
The surface application is typically done in multiple specialized layers:
- Acrylic Resurfacer: Fills minor imperfections and provides a smooth, uniform foundation.
- Color Coats: Two or more coats of pigmented acrylic are applied to provide the final playing surface color and texture.
- Cushion Layers (if applicable): For a cushioned court, specialized rubberized layers are applied before the final color coats.
C. Final Touches and Handover
The last steps prepare the court for immediate play:
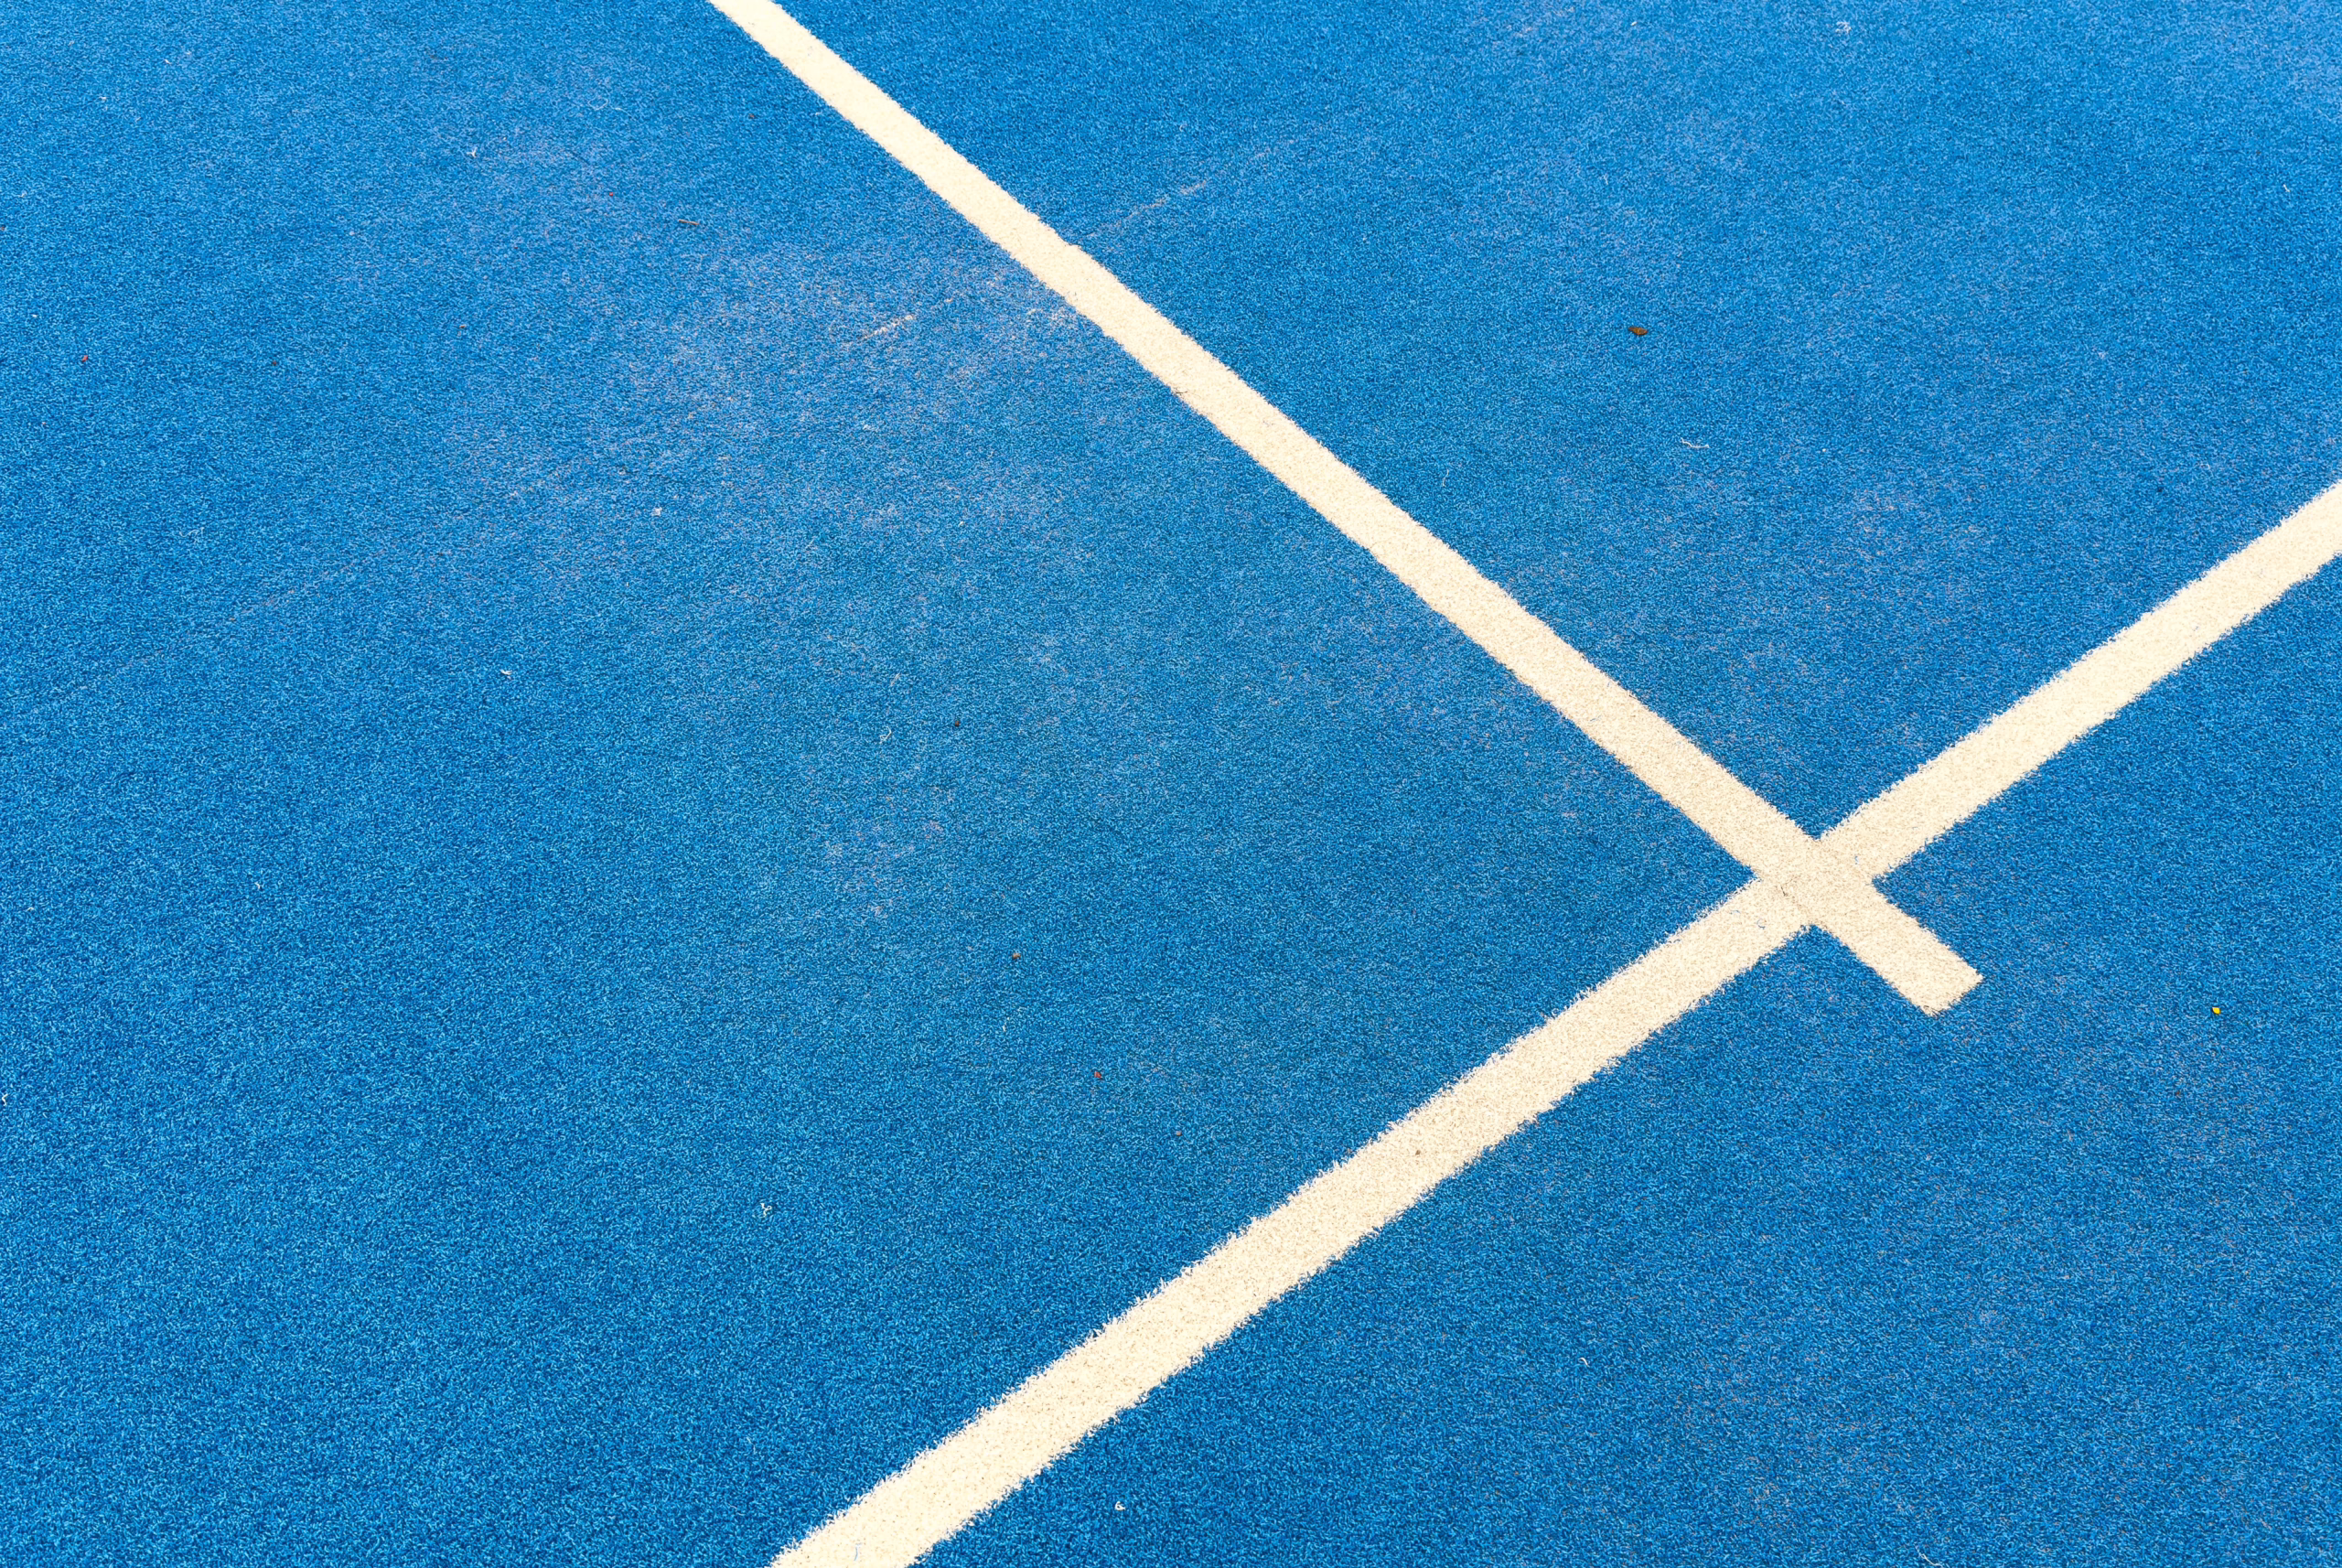
- Line Marking: Professional painting of the white playing lines (baselines, service lines, etc.) to exact regulatory specifications.
- Net Posts and Fencing: Installation of permanent fixtures and perimeter fencing.
- Final Inspection: A walk-through with the contractor to confirm all specifications are met before the court is handed over.
Give our team a call to learn more about tennis court installation in NY. By committing to a detailed planning schedule during the off-season, you guarantee that your tennis court project moves smoothly from paper to pavement, making sure that the spring construction window is used efficiently and your court is ready for its first match of the summer.